
I go into schools to run workshops and, when I leave, the same conversation comes round again, that they would like to have equipment so the students can carry on and that kitting out a whole group is an expense that was not always planned for when the year’s budget was closed. Making the balls yourself brings that cost down enough for the practice to continue through the same school year, and since each one takes five minutes to put together, the group can make their own in a single session with a bag of millet and a pack of balloons.
The balls we make are filled with millet because the grain is smaller than rice and fills the ball without gaps, so it settles into your hand when you close it, and because millet stays intact where rice rots once it takes in damp.
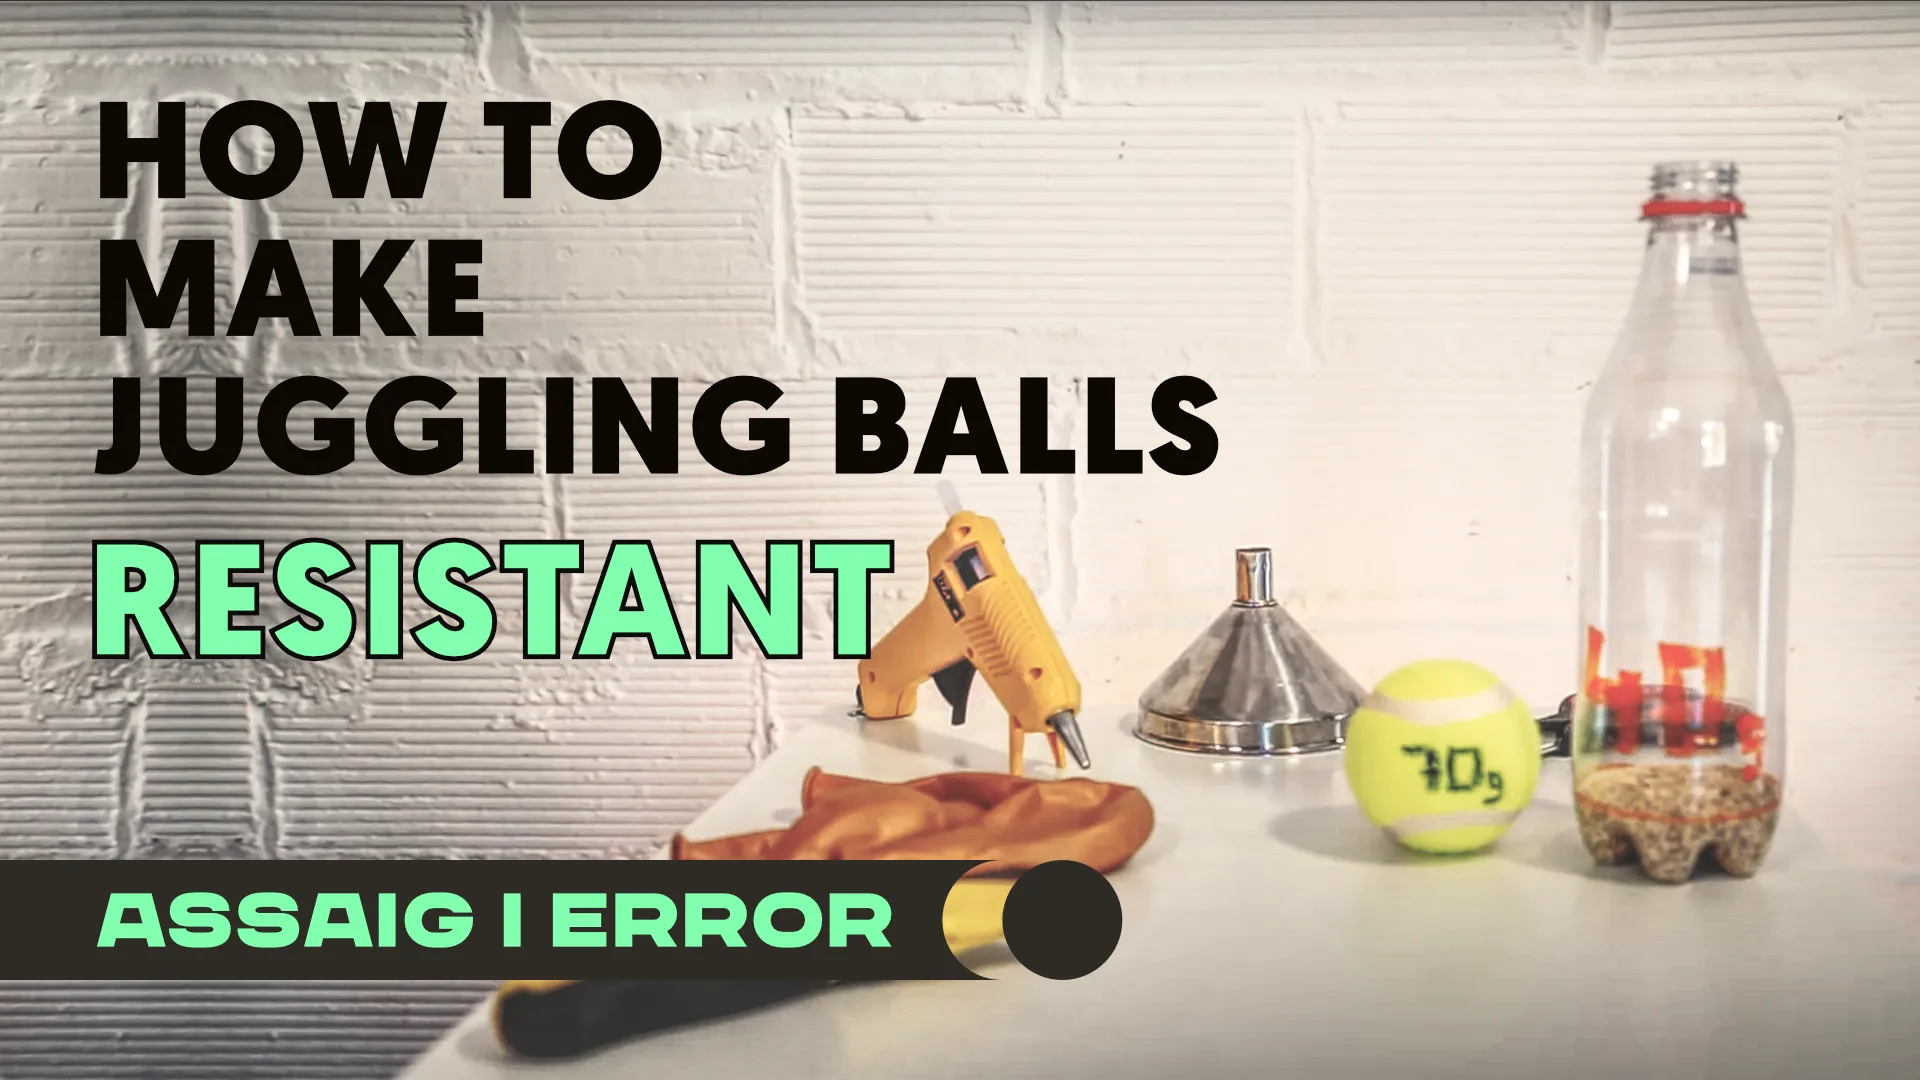
With an empty plastic bottle and 125 grams of millet you have a soft one in five minutes, and if you put a tennis ball inside and seal it with hot glue you have a hard-wearing one, which from the outside is the same ball and behaves differently when it hits the floor.
Soft juggling balls from millet and balloons
This is the version to start with, and anyone can make it with what is already around the house. The whole method comes down to inflating a balloon, fitting it over the neck of a bottle with the millet inside and turning the lot upside down, so the air in the balloon passes into the bottle while the millet travels the other way.
What you need
- An empty plastic bottle
- 125 grams of millet per ball
- Four balloons per ball
- Insulating tape
- Scissors
Step by step
- Put 125 grams of millet into the empty bottle.
- Inflate a balloon to the size of a grapefruit, twist its neck so the air cannot escape and stretch it over the neck of the bottle.
- Turn the bottle upside down and undo the twist in the neck, and all the millet will drop into the inflated balloon.
- Take the balloon off the bottle, let the air out slowly and shake the millet so it settles at the bottom.
- Cut the neck of the balloon off flush with the ball and cover the opening with a piece of insulating tape, which does the job of a knot without leaving a lump on the surface.
- Cut the necks off three more balloons and stretch them over the ball one by one, turning each layer so the hole in the previous one is covered.
- Repeat the whole thing twice more, until you have three.
If the balloon is too small the millet will not fit and the ball comes out hard as a stone, so it is worth inflating it to the size of a grapefruit before fitting it to the bottle. The outer layers are yours to choose, since each balloon you stretch on covers the cut of the one before and changes the colour of the ball, and as the outside layer is the one that wears through, when it splits you cut another and put it on without redoing anything underneath.
Hard-wearing balls with a tennis ball inside
This version takes a little longer and calls for a craft knife and a hot glue gun, which in most school art rooms are already in the cupboard, and in return you get a ball that goes out into the playground without falling apart.
The tennis ball works as a core and gives it its shape, while the millet you put inside adds the weight and damps the bounce. The rubber keeps enough of it, though, for the ball to hop when it lands and now and then to roll away, and that is what sets it apart from a Russian ball, which drops dead where it touches.
What you need
- One tennis ball per ball
- 40 grams of millet per ball
- Four balloons per ball
- A craft knife
- A funnel
- A hot glue gun
- Scissors
Step by step
- Open the tennis ball with the craft knife, with a straight cut just long enough for the tip of the funnel to go in.
- Weigh out 40 grams of millet and feed it into the ball through the funnel.
- Close the cut with a bead of hot glue and hold it for a few seconds while it sets.
- Cut the necks off four balloons and stretch them over the ball one by one, turning each layer so the hole in the previous one is covered.
- Repeat the whole thing twice more, until you have three.
The glue should not stand proud of the surface of the ball, because a ridge on the outside is felt in the hand at every catch and ends up wearing the balloon through from the inside.
Once you have three of them made you can start throwing, and if you do not know how yet, the guide to learning to juggle three balls carries on from here.
You must be logged in to post a comment.